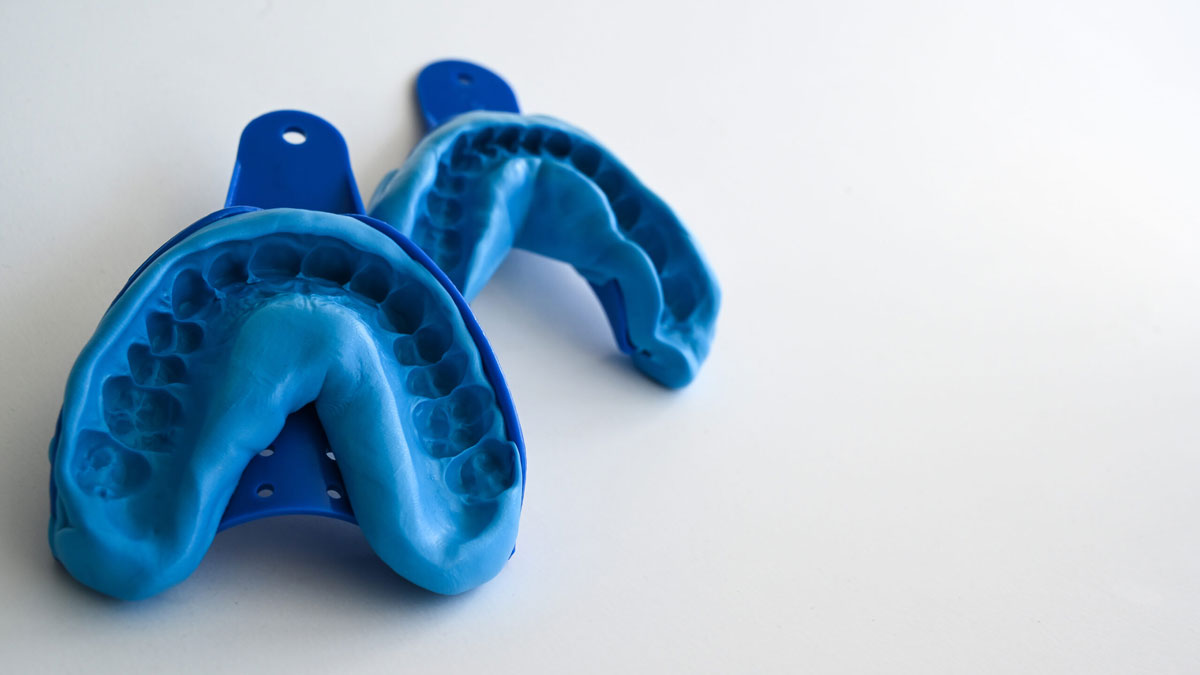
Having never taken a dental impression can be a bit overwhelming considering you are only allotted a certain amount of time before the material hardens. Rest assured it’s really quite simple; however I will highlight the most common errors and how to avoid them when taking your dental impressions at home. By avoiding these mistakes you can assure your custom fitted teeth whitening trays will fit with precision.
Granted you likely have the instruction booklet in front of you I will highlight what to do and then follow with what not to do:
- For about 60 seconds mix one catalyst and one base paste until a solid blue
- Place the mixed paste into an impression tray evenly (dont spend more than 30 seconds on this)
- Position teeth in the middle of the material and press into teeth
- Be sure to press thumbs into the back side to ensure your molars go deep enough
- Be sure to have material cover some of your gum line
- Once material has hardened (about 3 minutes) remove the tray by pulling directly down on the sides. Before removing the impression, touch the putty with your hand to see if its fully hardened. If not, leave it in a bit longer.
We provided you with 3 sets of impression material in case one of the first two was insufficient. Be sure to only send back 2 impressions because the pre-paid postage only covers the weight of 2 impressions, 2 impression trays, and the post card. If you wish to include your 3rd impression please ad 1 stamp to the envelope. Be sure to fill out the back side of the post card. You will not be obligated to the additional gel offer unless you check one of the check boxes.
Prior to making your custom trays we will first use your dental impression to make a molding of your teeth from which we use to make your teeth whitening trays. I have gathered several good and bad molds to reference to as I give you some pointers.
A good dental impression:
Referencing to the first image below you will see that I have displayed a good molding created from a good dental impression received by a customer of smilebrilliant.com. What makes this good is that the person avoided the most common mistake which was a shallow impression. This particular customer pressed the impression material deep enough to cover their gum line and they pressed the overflowing material into their gums.
By pressing deep enough to cover the gum line as shown above it allows us to create a tray that not only covers the whole tooth, but one that has a little extra material that extends slightly over the gum line to capture any gel that may overflow.
Conversely if your impression is to shallow as displayed in the image of the molding below, the tray will not only allow overflow, but it will not cover the entire tooth. If you reference to the green circle you will see that when this happens our lab technician will attempt to make the tray deeper by chiseling into the mold however this impression as simply too poor and would not hold up to our satisfaction guaranteed policy. Also take a look at the red line; you can see it moves upward at an angle.
Shallow impressions occur because either the person fails to press their thumbs into the back side of the tray or they took too long to mix the material and set it in the tray.
When removing the impression material and tray from the mouth prematurely (before material hardens) it can distort your true impression. While the example below may or may not be distorted I am speculating that it is because if you look at the section with the red line you will notice that the too seems a little too thick for an upper front tooth. This would mean that the person removed the material before it dried and did so in an uneven fashion. They likely pulled from the front of the tray causing the back side of the teeth to press into the soft material.
Another example of distortion that occurs when removing the material before it dries is something I call the “squiggly tooth” because the tooth takes an unnatural shape of a curved line. I believe this happens because the person removes the tray from left to right of vice versa. Once again this happens because the material has not fully hardened leaving its integrity susceptible to compromise.


